Recently someone brought to my attention this issue on Github.
https://github.com/taigaio/taiga-scripts/issues/3
It’s a common problem. Awesome-looking project, how exactly do I install it to play with it?
This is a perfect use case for ShutIt.
I built it by setting up a skeleton directory, which creates a standalone ShutIt module:
./shutit skeleton /path/to/shutit/library/taigaio taigaio shutit.tk
which gave me the boilerplate to produce the build section here:
https://github.com/ianmiell/shutit/blob/master/library/taigaio/taigaio.py#L10
You can see the ShutIt API is fairly intuitive – you call commands like login, send, multisend, run_script and logout on the shutit object to perform actions within the bash session that’s set up for you.
Once written, you can test with:
$ cd /path/to/shutit/library/taigaio/bin
$ ./build.sh
Then, to run it:
$ docker run -i -t -p 127.0.0.1:8000:8000 -p 127.0.0.1:8001:8001 taigaio bash -c '/root/start_postgres.sh && /root/start_taiga.sh && echo READY! && sleep 3000d'
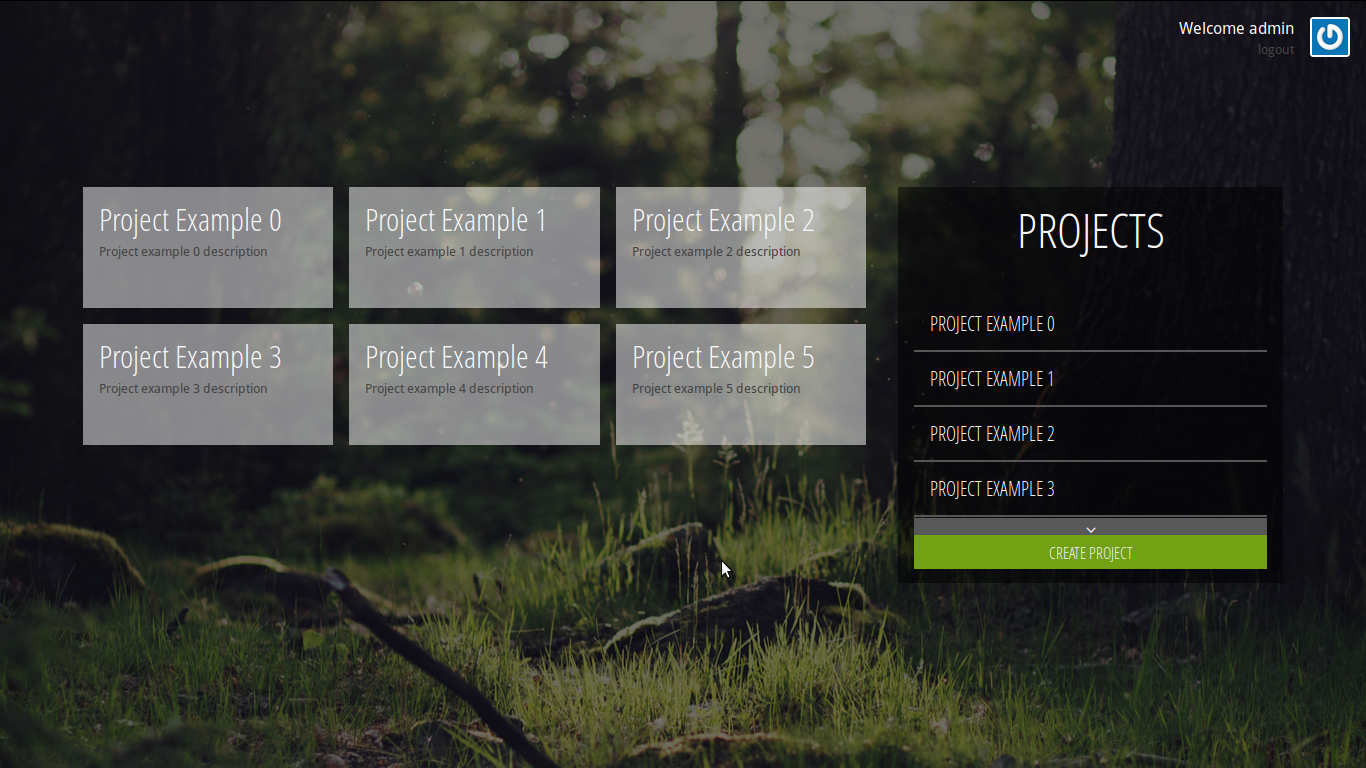
Navigate to http://localhost:8000 and login as admin/123123
If you just want to get going:
$ docker run -i -t -p 127.0.0.1:8000:8000 -p 127.0.0.1:8001:8001 imiell/taigaio bash -c '/root/start_postgres.sh && /root/start_taiga.sh && echo READY! && sleep 3000d'
Wait to see “READY!” and navigate to http://localhost:8000 and login as admin/123123
Voila:
1 thought on “Using ShutIt to Build Your Own Taiga Server”