Currently co-authoring a book on Docker: Get 39% off with the code 39miell

OpenShift
Is RedHat’s application Platform as a Service (aPaaS). It builds on Docker and Kubernetes to provide an Enterprise-level service for application provisioning.
PaaSes bring a great of benefits with them: centralised resource management, quotas, isolation,
OpenShift is a relatively old product in aPaaS terms. What’s changed recently is that version 3 has been substantially changed to be built around Docker and Kubernetes and written in Go, which are seen as stable building blocks for the future.
In this article you’re going to get OpenShift set up in 5 commands, and see an application provisioned, built and deployed using just a login and a GitHub reference.
NOTE: It will be safer/easier to run if you already have Vagrant+Virtualbox installed. The script will try to install it for you if it’s not already though. This has primarily been tested on Ubuntu and Mac (on tin). If you have other operating systems, please get in touch if you come across problems.
Get Going
Run these four commands (assumes you have pip and git already):
sudo pip install shutit
git clone --recursive https://github.com/ianmiell/shutit-openshift-origin
cd shutit-openshift-origin
./run.sh
And you will get a desktop with OpenShift installed.
NOTE: You’ll need a decent amount of memory free (2G+), and may need to input your password for sudo. You’ll be prompted for both. You can choose to continue with less memory, but you may go into swap or just run out.
NOTE: Assumes you have pip. If not, try this:
sudo apt-get install python-pip || yum install python-pip || yum install python || sudo easy_install python || brew install python
Open up a browser within this desktop and navigate to:
https://localhost:8443
and bypass all the security warnings until you end up at the login screen.

Now log in as hal-1 with any password.
Build a nodejs app
OK, you’re now logged into OpenShift as a developer.

Create a project by clicking ‘Create’ (a project has been set up but this has quotas set up to demo limits). Fill out the form.

and click ‘Create’ again.
Once the Project is set up, click on ‘Create’ again, in the top right hand side this time.

Choose a builder image (pick nodes:0.10). This build image defines the context in which the code will get built. See my source to image post for more on this.

Now click on ‘Create’ on the nodejs page.
If you wait, then after a few minutes you should see a screen like the following:
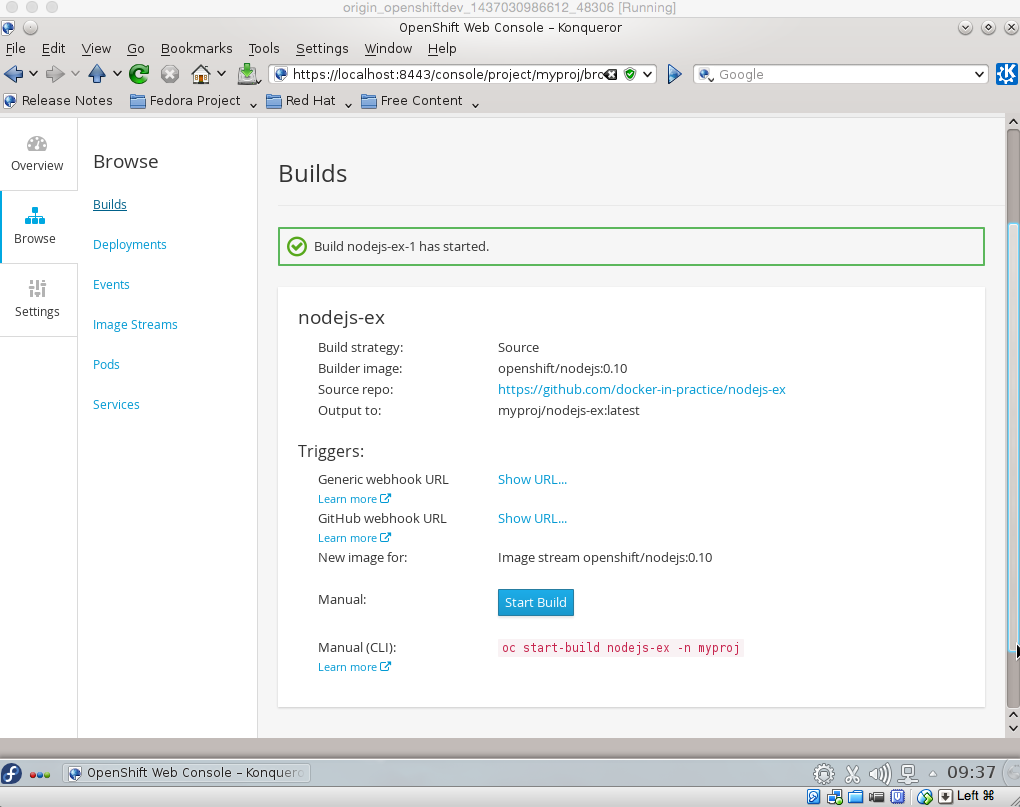
and eventually, if you scroll down you will see that the build has started:
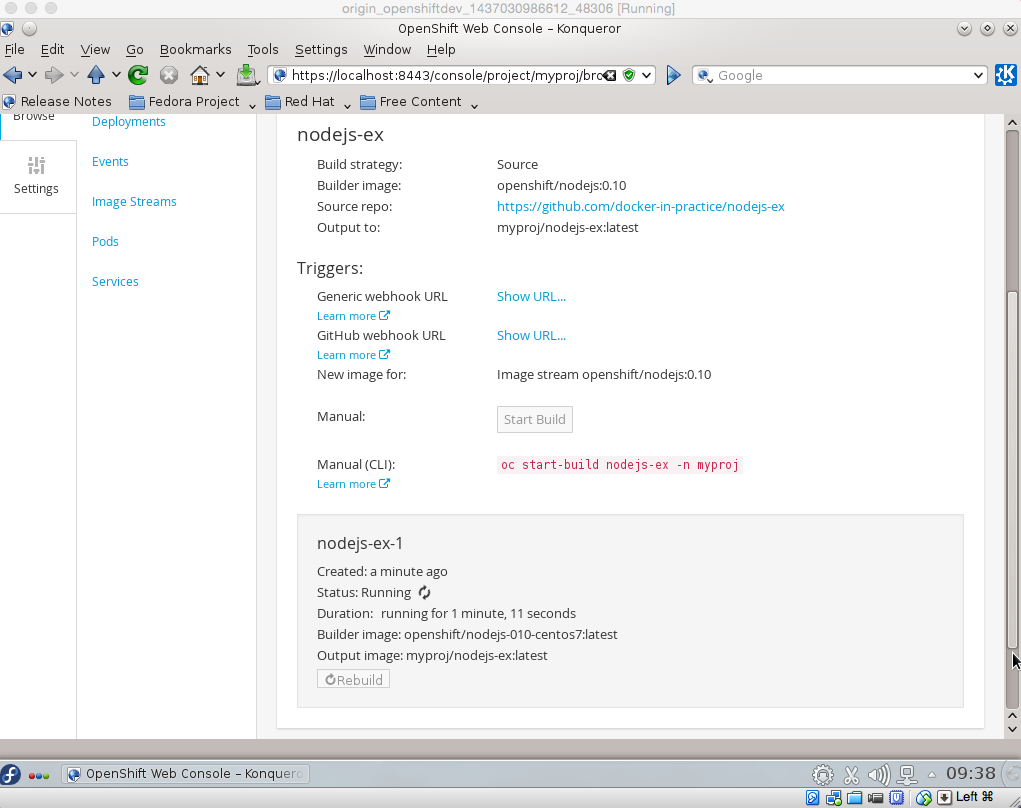
Eventually, you will see that the app is running:

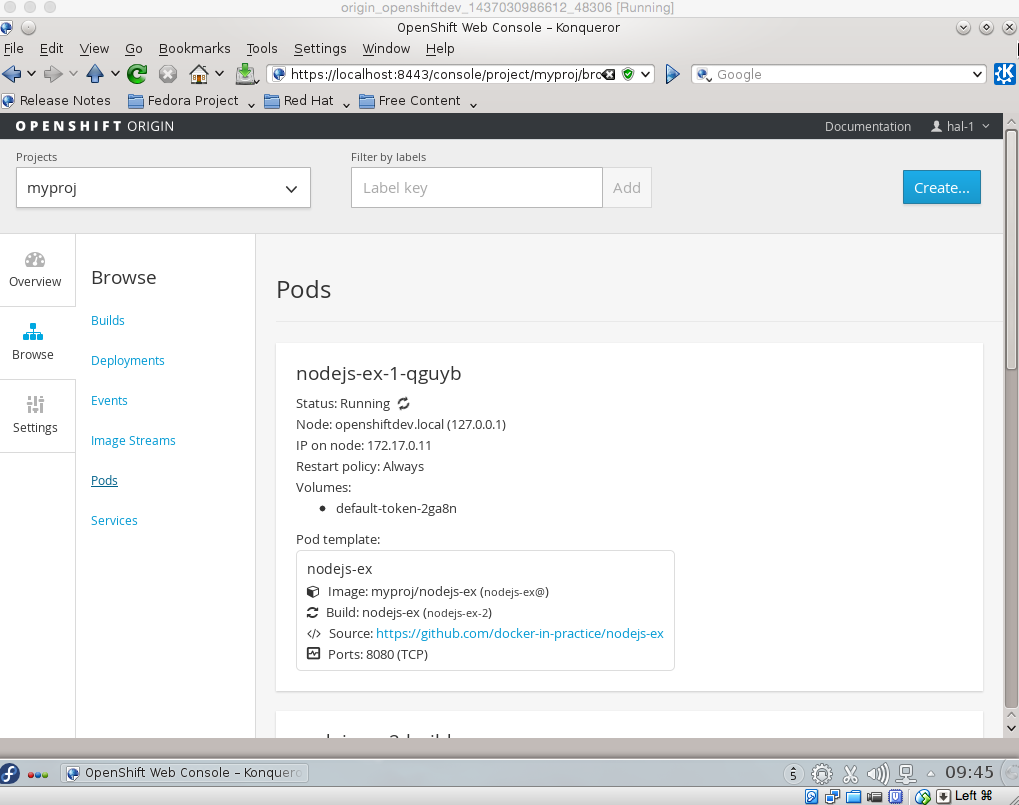
and by clicking on ‘Browse’ and ‘Pods’ you can see that the pod has been deployed:
Now, how to access it? If you look at the services tab:

you will see an ip address and port number to access. Go there, and voila, you have your nodejs app:

Further Work
Now fork the github repo, make a change, and do a build against this fork.
If you can’t be bothered, use my fork at: https://github.com/docker-in-practice/nodejs-ex
Conclusion
There’s a lot more to OpenShift than this. If you want to read more see here:
https://docs.openshift.org/latest/welcome/index.html
Any problems with this, raise an issue here:
https://github.com/ianmiell/shutit-openshift-origin
or leave a message